If your bathroom mirror stays fogged long after the shower ends, or the fan above your head sounds like it is grinding rather than spinning, you are looking at the early stages of fan failure. A Signs Your Bathroom Fan Needs Replacing is not just about silencing an annoying rattle. It is about protecting your walls, ceiling, and family from the mold and moisture that build up once ventilation stops working properly. Many homeowners wait too long because a fan that still spins seems fine, even when it has stopped actually moving air.
This guide walks through the warning signs worth acting on, what a proper replacement involves, and how to make sure the new fan keeps doing its job for years. Triggerelectric.ca handles this kind of work across Vancouver homes every week, and the patterns are always the same.
Signs Your Bathroom Fan Needs Replacing
A fan that still spins is not the same as a fan that still works. The blades can turn while the motor behind them struggles to pull enough air through the duct, and most homeowners only notice once the damage from trapped moisture is already visible.
Watch for these signals:
- Persistent fog or lingering odors: If the mirror stays fogged for more than a minute after the shower, or smells hang around long after the fan has run, it is no longer moving the volume of air it was built to move.
- A change in sound: A steady hum is normal. A new rattle, whine, or grinding noise usually means the motor bearings are wearing out.
- Visibly slower blades: If you can see the blades through the grille turning sluggishly compared to before, the motor is losing power.
- Mold or peeling paint near the fan housing: This points to moisture sitting in the ceiling cavity instead of being pulled outside.
- A burning smell when the fan runs: This is the one sign that needs immediate attention. It usually means the motor windings are overheating or the wiring inside the housing has degraded, and it is a fire risk, not just a performance issue.
- The fan is over 10 years old: Even a fan with no obvious symptoms tends to lose efficiency around the decade mark, and older models often run on outdated motors that use more power for less airflow.
One detail people miss: a fan that sounds fine can still be undersized for the room. If your bathroom is around 100 square feet, code minimums in most of Canada call for roughly 1 CFM (cubic feet per minute) of airflow per square foot, so a 100 CFM fan is the baseline for a 100 sq ft bathroom. A bathroom with a soaker tub or an enclosed shower stall usually needs more than the square footage alone suggests, since each fixture adds its own moisture load. If you have never checked your fan’s CFM rating against your bathroom’s size, that mismatch could be the real reason ventilation feels weak even with a fan that technically still runs.
If you are also noticing flickering lights when the fan kicks on, that is worth looking at separately, since it can point to a wiring issue beyond the fan itself.
The Signs Your Bathroom Fan Needs Replacing Process
Swapping a bathroom fan looks simple on paper. Pull the old unit, drop in the new one, wire it up. In practice, most of the work that determines whether the new fan actually performs happens before the new unit ever gets mounted.
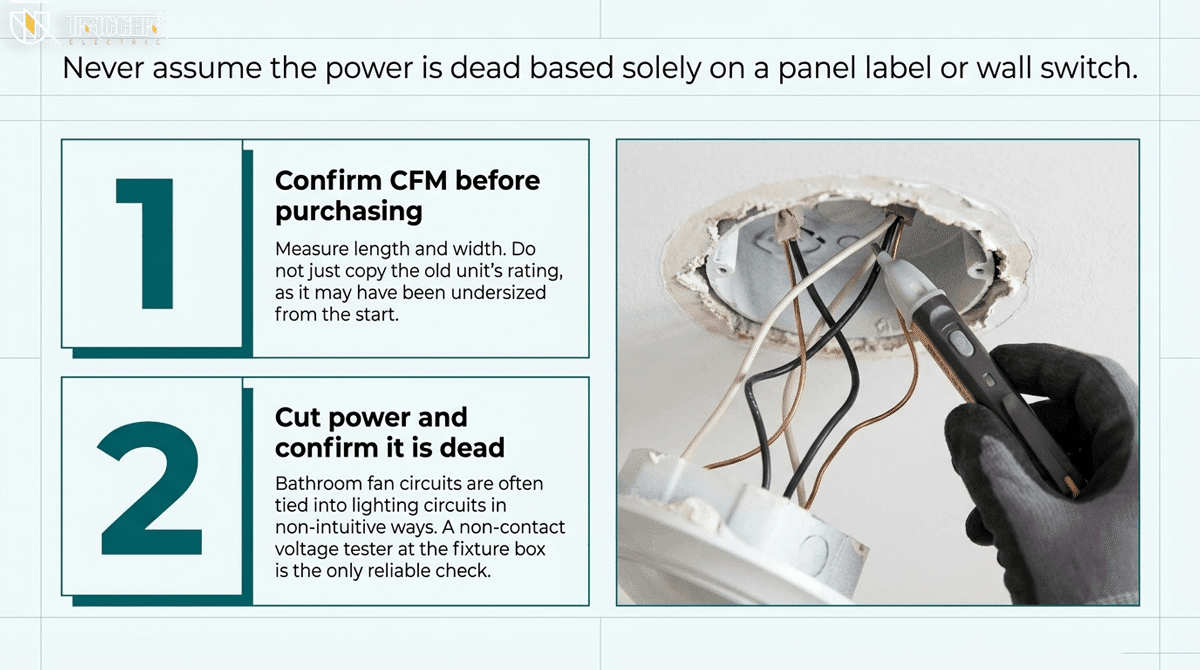
1. Confirm the right CFM before buying anything
Measure the bathroom’s length and width, then check that against the fan’s rated CFM. A bathroom around 100 square feet needs roughly 100 CFM as a baseline, and a room with a soaker tub or separate shower stall should go higher, since extra fixtures add extra moisture load. Buying a replacement that matches the old unit’s CFM without checking is a common mistake, especially if the old fan was undersized to begin with.
2. Cut power and confirm it’s dead
This sounds obvious, but bathroom fan circuits get tied into lighting circuits in ways that are not always intuitive from the panel labels. A non-contact voltage tester at the fixture box, not just the breaker switch position, is the only reliable check.
3. Remove the old housing and inspect the duct
Once the grille and motor assembly come down, look at the ductwork behind it. This is the step most DIY replacements skip, and it is where problems hide. A duct that was crushed, disconnected, or never actually routed to the exterior wall in the first place will undercut even a brand new high-CFM fan.
4. Check the wiring against the new fan’s requirements
A standard fan without a heater typically works fine on the existing lighting circuit. A combination fan with a built-in heater or heat lamp needs its own dedicated circuit, and the existing wire gauge may not be rated for the higher amperage draw. This is the point where a fan installed in the shower or tub zone also needs to be confirmed against GFCI protection requirements under the Canadian Electrical Code, and it is not something to guess at.
5. Mount the new housing and secure it to the joists
The housing needs a solid mechanical connection, not just a friction fit against drywall. A loose housing vibrates over time, which is often where that new rattling noise comes from a few years down the line.
6. Connect the duct with a sealed, mechanical joint
Foil tape alone is not enough for a long-term seal. Use a proper duct clamp or mastic sealant at the connection, and confirm the run terminates at an exterior vent cap, not into the attic insulation.
7. Wire the unit and test before closing everything up
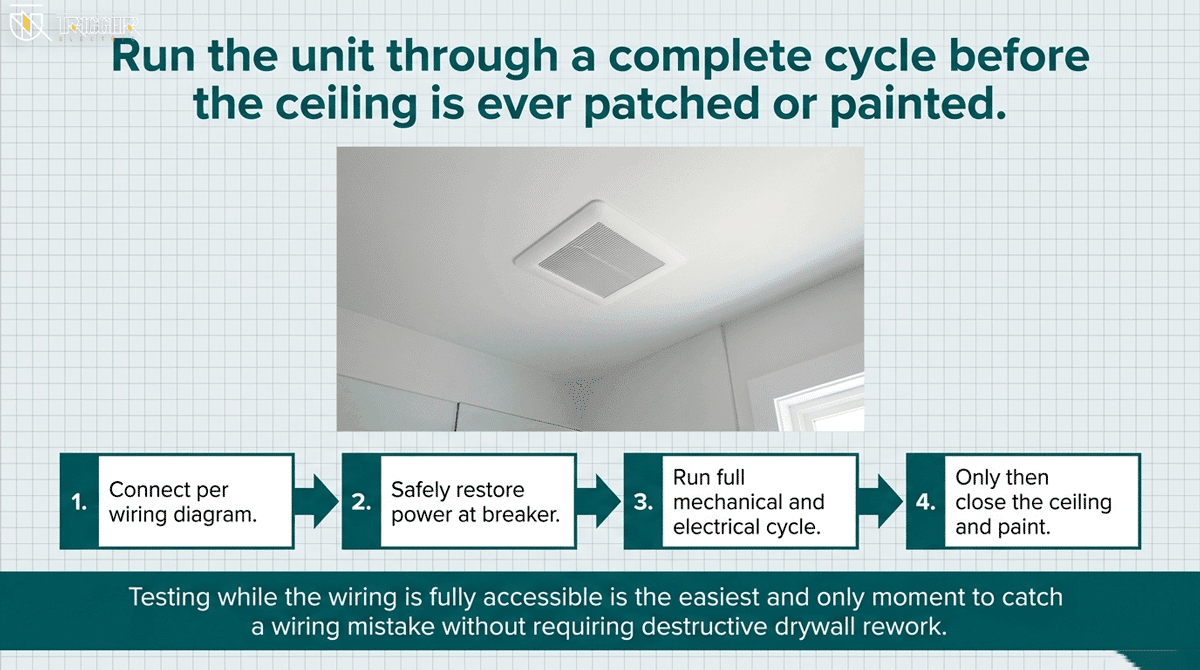
Connect according to the fan’s wiring diagram, restore power, and run the fan through a full cycle before the ceiling gets patched or painted. This is the easiest moment to catch a wiring mistake.
| Replacement scope | What’s usually involved | When a permit applies |
|---|---|---|
| Same location, same fan type, no heater | Swap housing, reuse existing circuit | Often not required |
| Adding a heater or heat lamp | New dedicated circuit, possible panel capacity check | Typically required |
| Relocating the fan or duct run | New wiring path, new duct routing, structural cutting | Typically required |
The line between a same-day swap and a half-day project usually comes down to whether the duct run and the circuit are already adequate, or whether they need to be redone. That is also where a fan replacement quietly turns into panel-related work. Before assuming your panel has the capacity for a dedicated heater-fan circuit, it helps to run through the questions to ask electrician panel upgrade decisions usually require.
After Installation: Inspection and Maintenance
A correctly installed fan still needs a quick check on day one and a maintenance routine afterward. Skipping either one is how a fresh installation ends up with the same problems as the unit it replaced.
Right after installation, confirm three things while the bathroom is still accessible without a ladder or tools:
- The fan runs at a steady, even hum with no rattling or vibration through the ceiling.
- Steam clears from the mirror within a few minutes of the fan running, not five or ten.
- The exterior vent cap’s damper opens when the fan is on and closes when it’s off. A damper stuck open lets cold air and pests in; one stuck shut means the fan is pushing air against a blocked path.
Once that’s confirmed, the maintenance side is straightforward and does not need a professional for most of it.
| Task | Frequency | Why it matters |
|---|---|---|
| Wipe down the grille and blades | Every 6 months | Dust buildup is the single biggest cause of reduced airflow over time |
| Check the exterior vent cap for blockages | Every 6 months | Nests, leaves, and debris restrict exhaust and stress the motor |
| Listen for new noise or vibration | Ongoing, during normal use | Early warning sign before a motor actually fails |
| Full duct inspection | Every 2-3 years, or sooner if airflow drops | Catches disconnected joints or sagging sections that cleaning alone won’t fix |
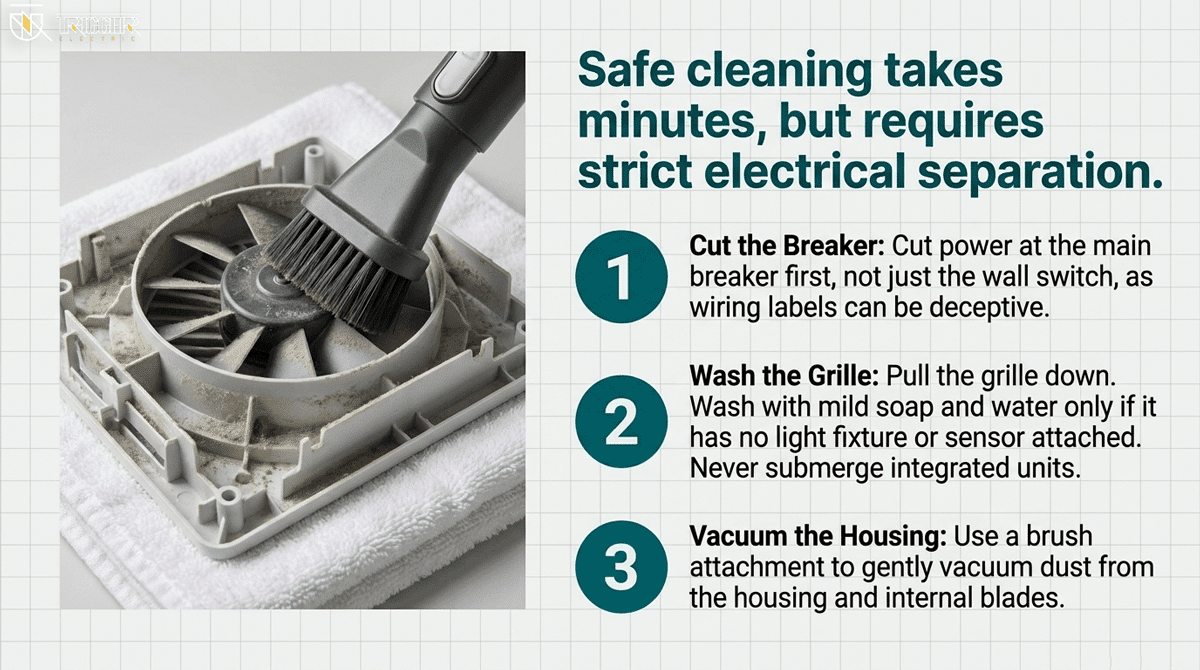
Cleaning itself takes a few minutes. Cut power at the breaker first, not just the wall switch, since the two are not always wired the way the labels suggest. Pull the grille down, wash it with mild soap and water if it has no light fixture attached, and vacuum dust from the housing and blades with a brush attachment. Never submerge a grille that has an integrated light or sensor.
With this routine, a quality fan installed correctly should run for 10 to 15 years before replacement comes up again. The fans that fail early are almost always the ones where the duct was never properly sealed or the unit was undersized for the room from the start, which is exactly why getting the installation right the first time matters more than any maintenance habit afterward.
Conclusion
A Signs Your Bathroom Fan Needs Replacing is a small project with a big payoff: less moisture damage, lower energy bills, and a quieter bathroom for the next decade. The part that actually determines the outcome is rarely the fan itself, it’s whether the duct is sealed properly and the wiring matches what the new unit needs. If you’re not confident checking the circuit or sizing the CFM correctly, Trigger Electric’s electrical installation team handles the wiring side from start to finish, and if something about your current fan setup seems off before you even get to replacement, our electrical troubleshooting service can pinpoint the issue first.